How to Connect Meta Quest 2/3 to KAT Nexus: Initial Setup
*This guide will help you set up the KAT VR Treadmill for use with a Quest 2 or 3, starting with the KAT Gateway software on your Windows PC.
Step 1: Prepare Your Windows Computer
1. Requirements: Ensure you have a Windows 10 or 11 computer with two USB ports.
2. Download & Install Software: Download the latest KAT Gateway software (version 2.2.5) from KAT VR’s download page.

3. Run KAT Gateway: Launch the software once installed.

Step 2: Connect the KAT Treadmill to Your Computer
1. Connect USB Cable: Plug the USB cable from the treadmill’s base directly into your computer.

2. Pair Sensors: Follow the prompts in KAT Gateway to pair each sensor, and fully charge them after pairing.
3. Verify Connection: Confirm that the KAT Gateway indicates a “Connected status.

Step 3: Install KAT Gateway for Quest on Your Headset
1. Enable Developer Mode: Use the Meta Horizon app on your smartphone to activate Developer Mode on your Oculus headset. Video guide here.
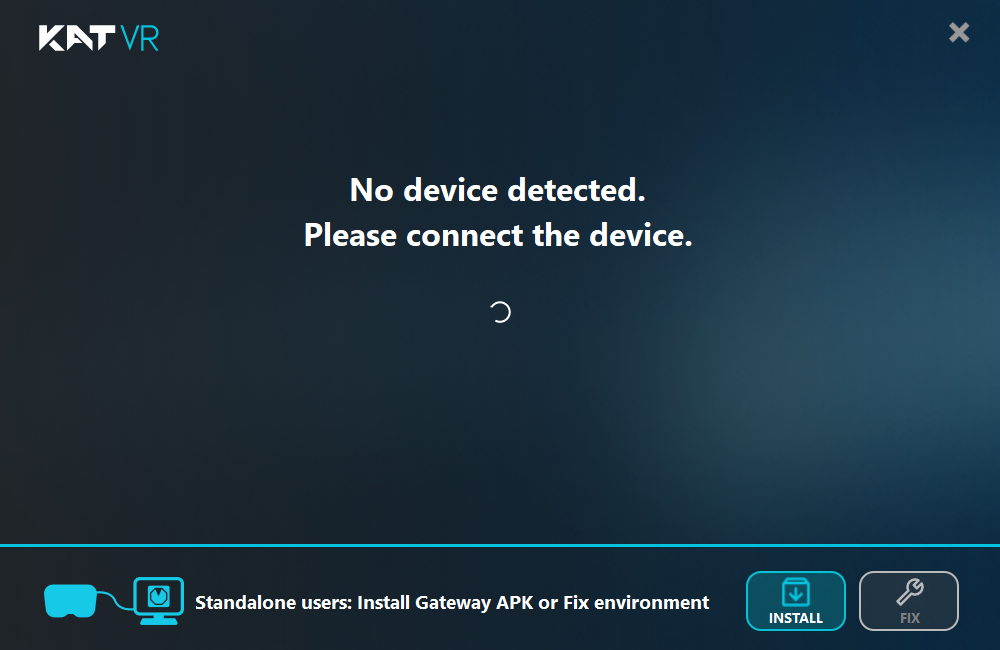
2. Install KAT Gateway for Quest: Connect your headset to your computer with a USB-C cable. In KAT Gateway, select For Standalone VR and grant permissions.


3. Click Install to load the app onto your headset.

Step 4: Final Setup with KAT Nexus
1. Connect KAT Nexus: Disconnect the treadmill USB from the computer and plug it into the KAT Nexus.
2. Connect to Router: Use an Ethernet cable to connect KAT Nexus to your router; wait for any firmware updates to complete.
3. Connect Quest 2/3: Make sure your Oculus headset is on the same Wi-Fi network as KAT Nexus.
Confirm Connection & Play
1. Launch KAT Gateway on Headset: Go to Unknown Sources on your Quest, select KAT Gateway, and grant permissions as needed.
2. Game Setup: The KAT Gateway will display your compatible games. Select a game, follow any patching steps, and launch from your library to start using the treadmill.
For a full video guide on Patching a compatiable Quest game, click here.


